Arrange a screen yourself in Studio: move, scale, rotate, line up, reorder, hide, and set the collision boxes of what your AI placed.
Copy the words under a card and paste them to your AI, replacing anything in [brackets] with your own.
Start with a design
A design is a screen of your game kept in a file you can arrange yourself.
Where designs come from
Your AI makes a design for each screen that stays put, such as the welcome screen, so you can arrange it yourself.
Each design shows under Designs when you open your game in Studio, and your AI gives you a link straight to it. Your AI adds the objects, with their pictures and text; you place them where you want, instead of asking for something to move a little higher or get a little bigger. A game made before designs, or a screen without one, gets a design when you ask for it.
Ask your AI
Make the welcome screen a design so I can arrange it myself in Studio.
What Studio does not do
It arranges what is there; it does not add or change objects.
Studio cannot add an object, change its picture or text, or change what it does when tapped. Ask your AI for those, then arrange the result yourself.
Ask your AI
Add a settings button to the welcome design, and I will place it myself.
Pages in a design
Pages keep apart the objects of one design, and Studio shows one page at a time.
A design can hold more than one screen's worth of things: one page per character your game makes copies of, or a page of pieces you keep as references beside the screen itself. Pick a page in the Pages list to see its objects. Your AI adds, renames, and removes pages, and moves objects between them, because the game's code finds objects by page. Pages only organize the design: your AI decides which page the game uses for what.
Ask your AI
Make a characters design with one page per character, so I can arrange each one in Studio.
Fire and dice in a design
Torches, campfires, fireballs, burning things, and dice your AI placed can be arranged too.
When your AI puts fire or dice on a screen that has a design, they are objects of the design like the rest, and Studio shows them as the game does, flames already burning. Drag a flame to move it and its corner handle to make it bigger or smaller; a flame does not turn. A die only moves: its colors, its size, and its rolls are your AI's. Explosions, and the fire left where something blew up, are moments of the game rather than objects on a screen, so they stay with your AI.
Ask your AI
Put two torches on the dungeon design so I can place them myself in Studio.
Arrange the objects
Everything here works with a mouse and with your fingers on a phone.
Move, scale, and rotate
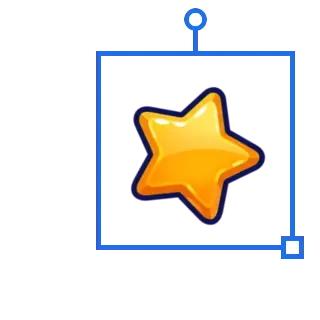
Drag an object to move it, its corner handle to make it bigger or smaller, and the handle above it to turn it. The details panel takes exact values, and locking X or Y keeps a drag from changing that one, so the object moves in a straight line. It also sets how transparent an object is, mirrors it, sets a text's letter size and lines, and sets how a background fits.
Before
Moved, bigger, turned
Where to find it
My Games
your game
Open in Studio
Designs
a design
Drag an object
Hold Shift while turning to go in 15° steps.
Line things up
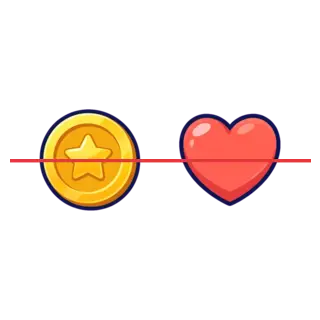
Objects snap to the edges and the center of the screen and of other objects, and a red guide shows what lines up. Turning snaps to 45° and to the angle of other objects.
Not quite level
Lined up
Where to find it
My Games
your game
Open in Studio
Designs
a design
Snap
The magnet button turns snapping on and off. Hold Cmd or Ctrl while dragging to do the opposite for a moment.
Bring to front or send back
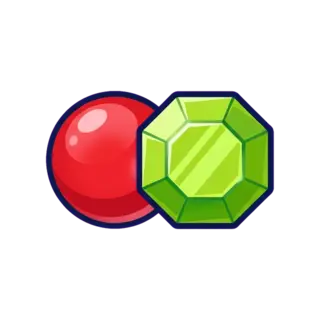
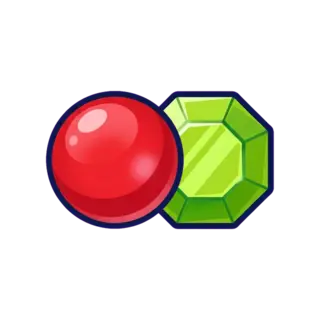
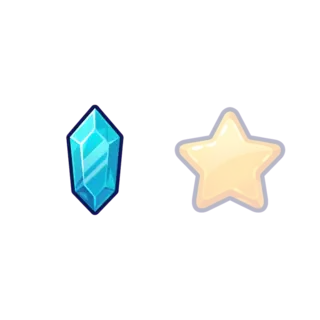
The Objects list shows what is drawn in front, front first. Drag a row to put an object in front of or behind another, or use Bring forward and Send backward over the selected object. Backgrounds always stay behind everything.
Gem in front
Ball in front
Where to find it
My Games
your game
Open in Studio
Designs
a design
Objects
Drag a row by its grip
Tap a row to select its object, even one hidden behind others. With a keyboard, Cmd or Ctrl and a click adds a row, and Shift and a click selects every row in between; on the canvas, Shift, Cmd, or Ctrl and a click adds an object. The selected objects then move, scale, and turn together, and the details panel changes all of them.
Hide or delete
Hide an object to keep it in the design but out of the game, with the eye on its row, or take it out with Remove from the design over the selected object. A hidden object is not drawn, as in the game, until you pick it in the Objects list, so you can still move it and show it again.
Shown
Hidden
Where to find it
My Games
your game
Open in Studio
Designs
a design
Objects
Select an object
Eye button
Delete or Backspace removes the selected object too; Undo brings it back.
Collision box
Shows the box the game uses for collisions, so you can drag it or its corners. A box a little smaller than the drawing makes hits feel fair.
Picture
With its box
Where to find it
My Games
your game
Open in Studio
Designs
a design
Select an object
Collision box
The box is saved in the design, and the game uses it as it is. Reset box makes it the size of the object again.
After you save
Your changes go straight into your game.
Saving your changes
Save writes the design into your game at once.
Undo and Redo step back and forward through your changes. After saving, try them in Play; players see them only after you publish the game again from your game's page. Tell your AI what you changed, so it reads the design before working on that screen. If the design changes somewhere else while Studio is open, in another window or through your AI, Studio loads the new version when you come back to it; when you have unsaved changes, it asks whether to load it or keep yours.
Ask your AI
I arranged the welcome design myself. Read it before changing that screen.
May we use Google Analytics cookies to see how many people visit and which pages they open? You can change this at any time under Cookie settings in the footer. See our Privacy Policy.
 Before
 Moved, bigger, turned
 Not quite level
 Lined up
 Gem in front
 Ball in front
 Shown
 Hidden
 Picture
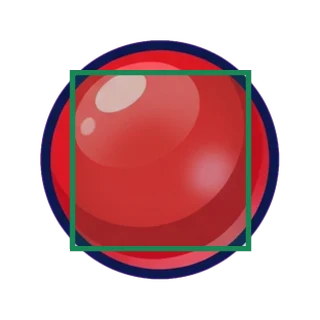 With its box